HOW I DO MY GEL NAILS AT HOME.
The internet is primed with nail inspo. My ‘Nailed It’ board on Pinterest is ever growing, and a week doesn’t go by that I don’t see a mani that I want to recreate. But unless you have a good beauty budget, a regular salon-visit can be unrealistic. Enter, home UV gel kits. I’ve been doing my own nails for at least ten years now, so I thought I’d share the things I’ve learned over the years and the bits that are essential to my home gel nails kit.
1. A good UV & LED nail lamp
I started my ‘gel nails at home’ journey with a starter kit by Sensationail, from Boots, when they were first released. Ten years later and my lamp is still working. They no longer sell the kits in Boots, but you can find them on Amazon here. If I was to buy a gel nail lamp now, however, I would go bigger. I have to cure my thumbs separately using my lamp, and if you’re time poor like me, that’s a no no. Mylee’s lamp is much bigger and you can fit the whole hand in it to cure at once. They’re also a brand I really trust, as I use lots of their other products. You can buy direct from them or from Boots, Asos or Amazon (each are linked if you click on them). Below are those and some other top UV nail lamps so you can compare them for yourself. Just click each picture to shop.


2. Some good prep tools
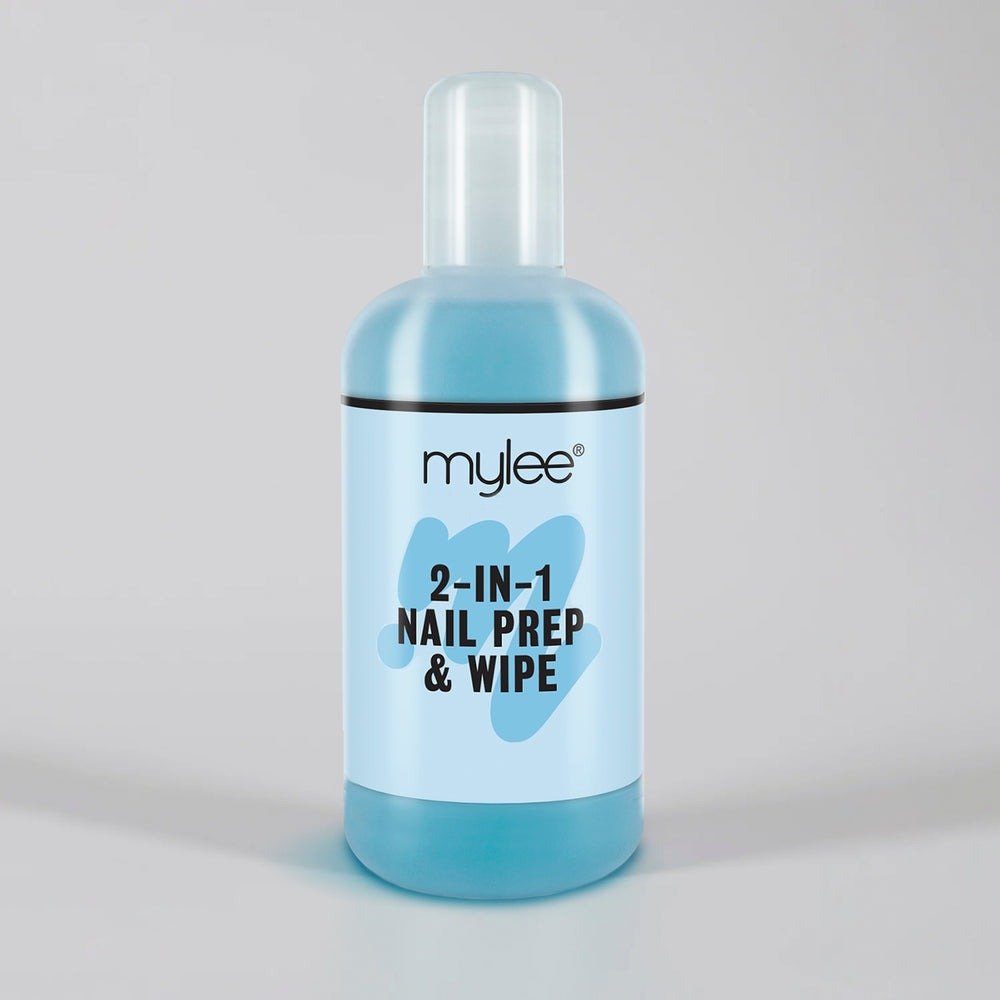
Want to know how to stop gel nails from peeling off? Because it’s the last thing you want after spending an hour on your manicure. It happened to me a lot in the beginning, and I’ve learned that you need to prep your nails properly in order to make your manicure last longer. Buff your nails and wipe them with lint free wipes and a prep solution. Then make sure you use a product like this Mylee nail prep dehydrator. It gets rid of any excess moisture in the nail to make the UV gel nail polish stick better, and it has been a total game changer for me - it’s the only thing that has made my gel nails last longer. Below are a few other essentials I’ve got in my nail kit. You’re welcome…


3. Lots of fun nail art accessories
Once I nailed (sorry, I couldn’t resist) the regular single colour manicure, I graduated to nail art. I have slowly built up a collection of nail stickers, 3D nail gems, glitter, builder gel and sculpture molding gel. Here are a few of the places I go to find nail art supplies…
1. Amazon is great for nail stickers and decals of everything from bows and hearts to letters and flowers. These star stickers and these sacred heart decals are two of my faves.
2. Mylee’s Crown Jewels Nail Art Kit is filled with everything from gold foil and pearls to silver hearts and stars. They’re also the place to go for chrome powders to give you that glazed donut nails look (click here to see the ones I painted with their cushion pen in motion).
3. Amazon for silver mirror gel if you want to create some of those baddie silver chrome nails (it took me ages to find something that was actually as shiny as the salon manis, this stuff is really good).
4. Amazon or Mylee at Asos for a French tip nail stamper (click here to see how I use mine to create a micro French tips manicure at home).
5. Asos for items like these Ardell play pens nail pens and these Mylee liner gels for some fine-line nail art.
4. Finish them off with oil
Ever wonder how those influencers get their nails looking sooooo shiny? Yep, me too, for years. Then I discovered cuticle oil. Not just for cuticles, it makes your mani super shiny too. Just roll a drop over each cuticle when you’re finished, and rub it into the whole nail. Refresh when you need some extra shine. Here are a few of my own at-home gel manis below…


